🥹 Intro
"Official" guide to RedLiner Mechanics and Gameplay.
Made by the Wave 1 Liners
All and any tech is subject to change in future updates
Keep it to the basic info about how everything works. Advanced tech will go in a separate tab.
Credits:
- Zerby Quan (LastLiner)
- Lunarin (Gremliner / Skyliner)
- Vo [THEDOCLiner]
- Cubxfy
- Anovian (Honorary Wave 1 Liner)
- likegravity (Designliner)
🗿 Miscellaneous
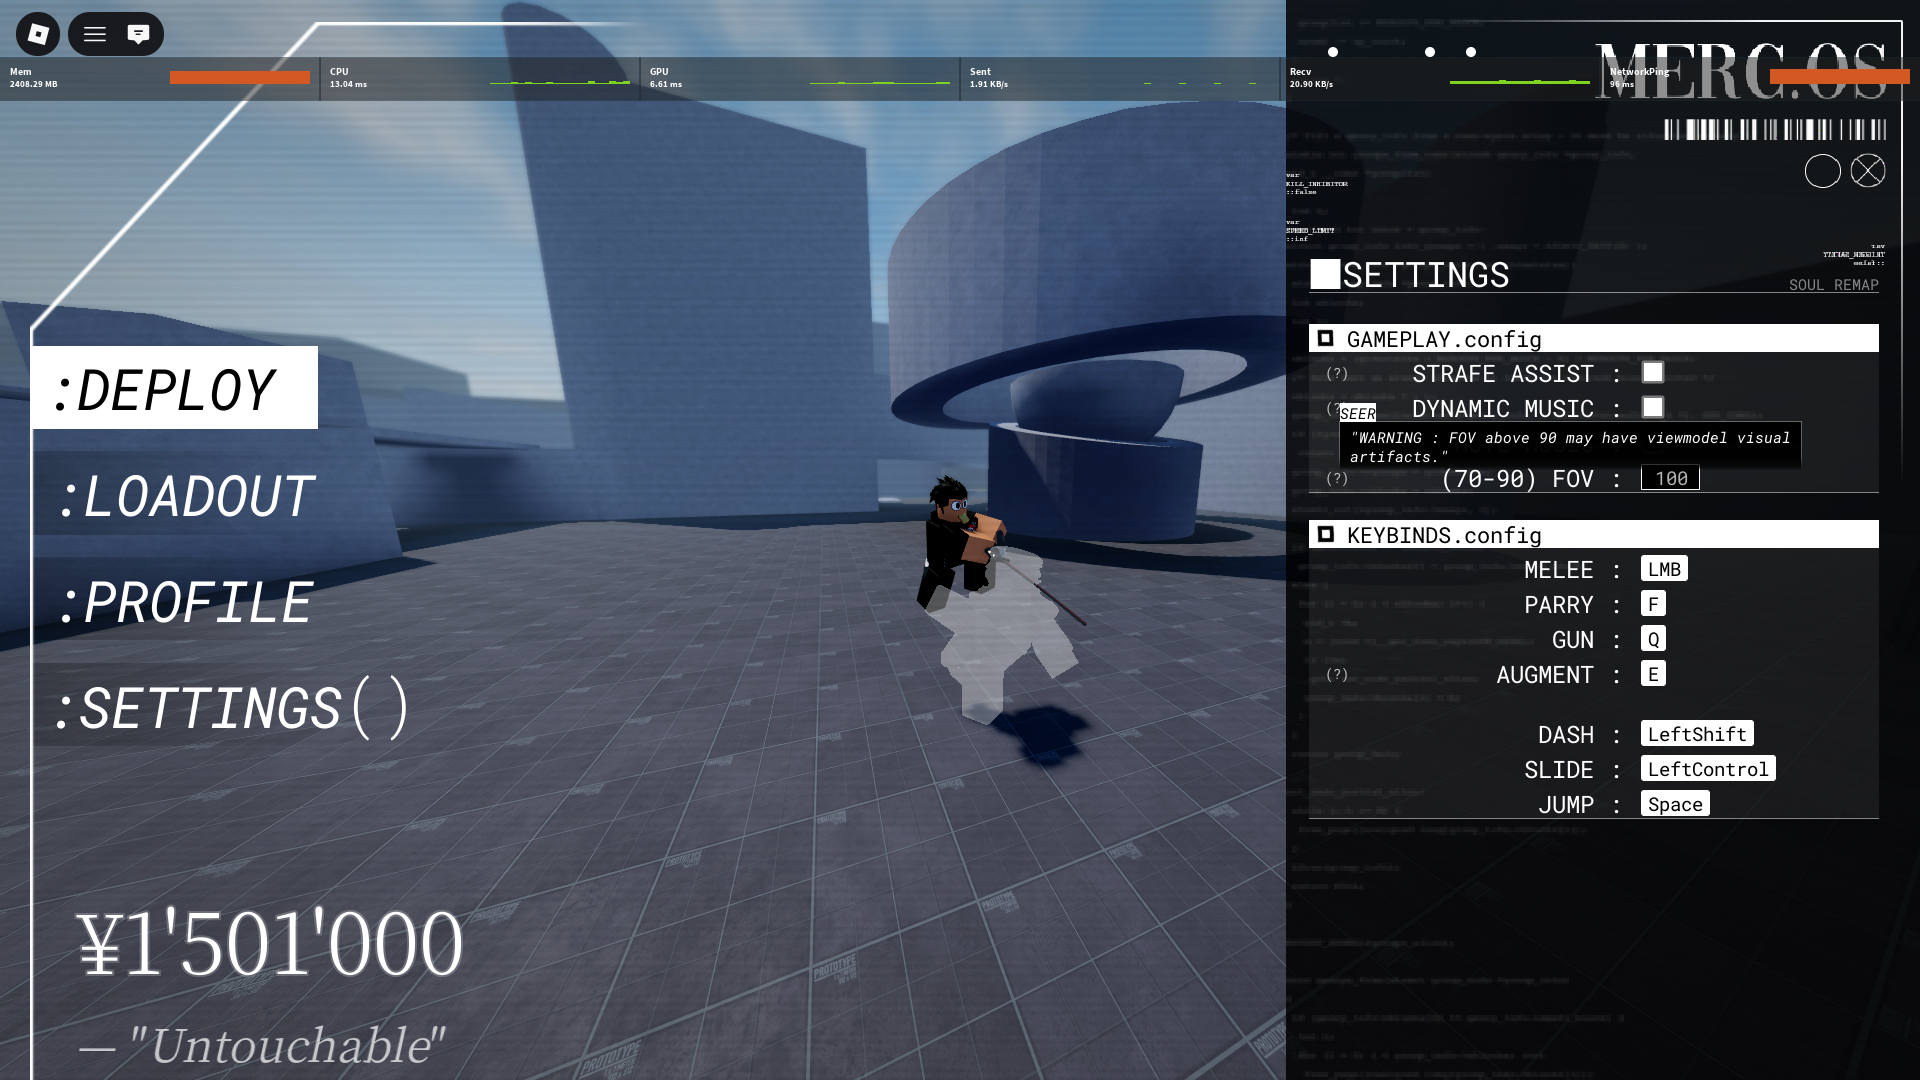
Menu (M)
Can be accessed when out of combat for 6 seconds. Will spectate a random player.
- Deploy: Spawn into combat
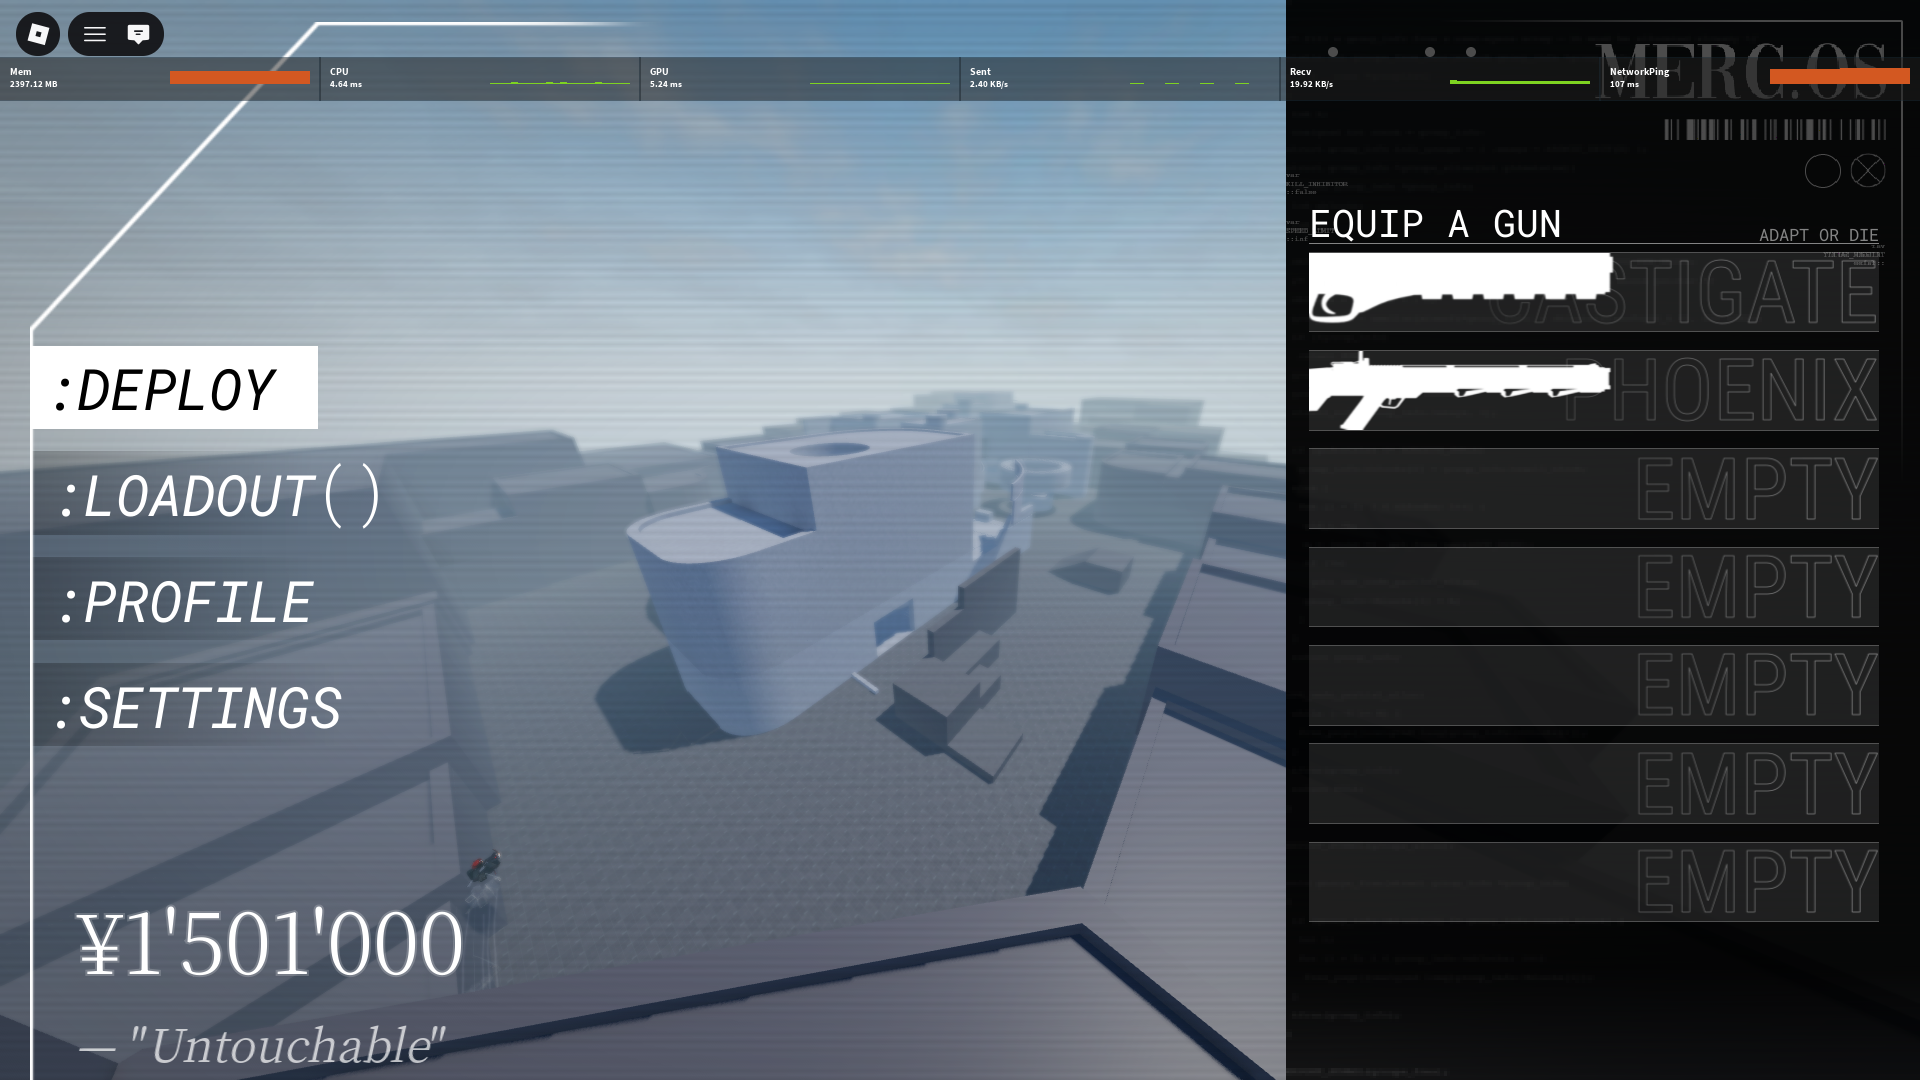
- Loadout: Change guns
- Profile: Stats
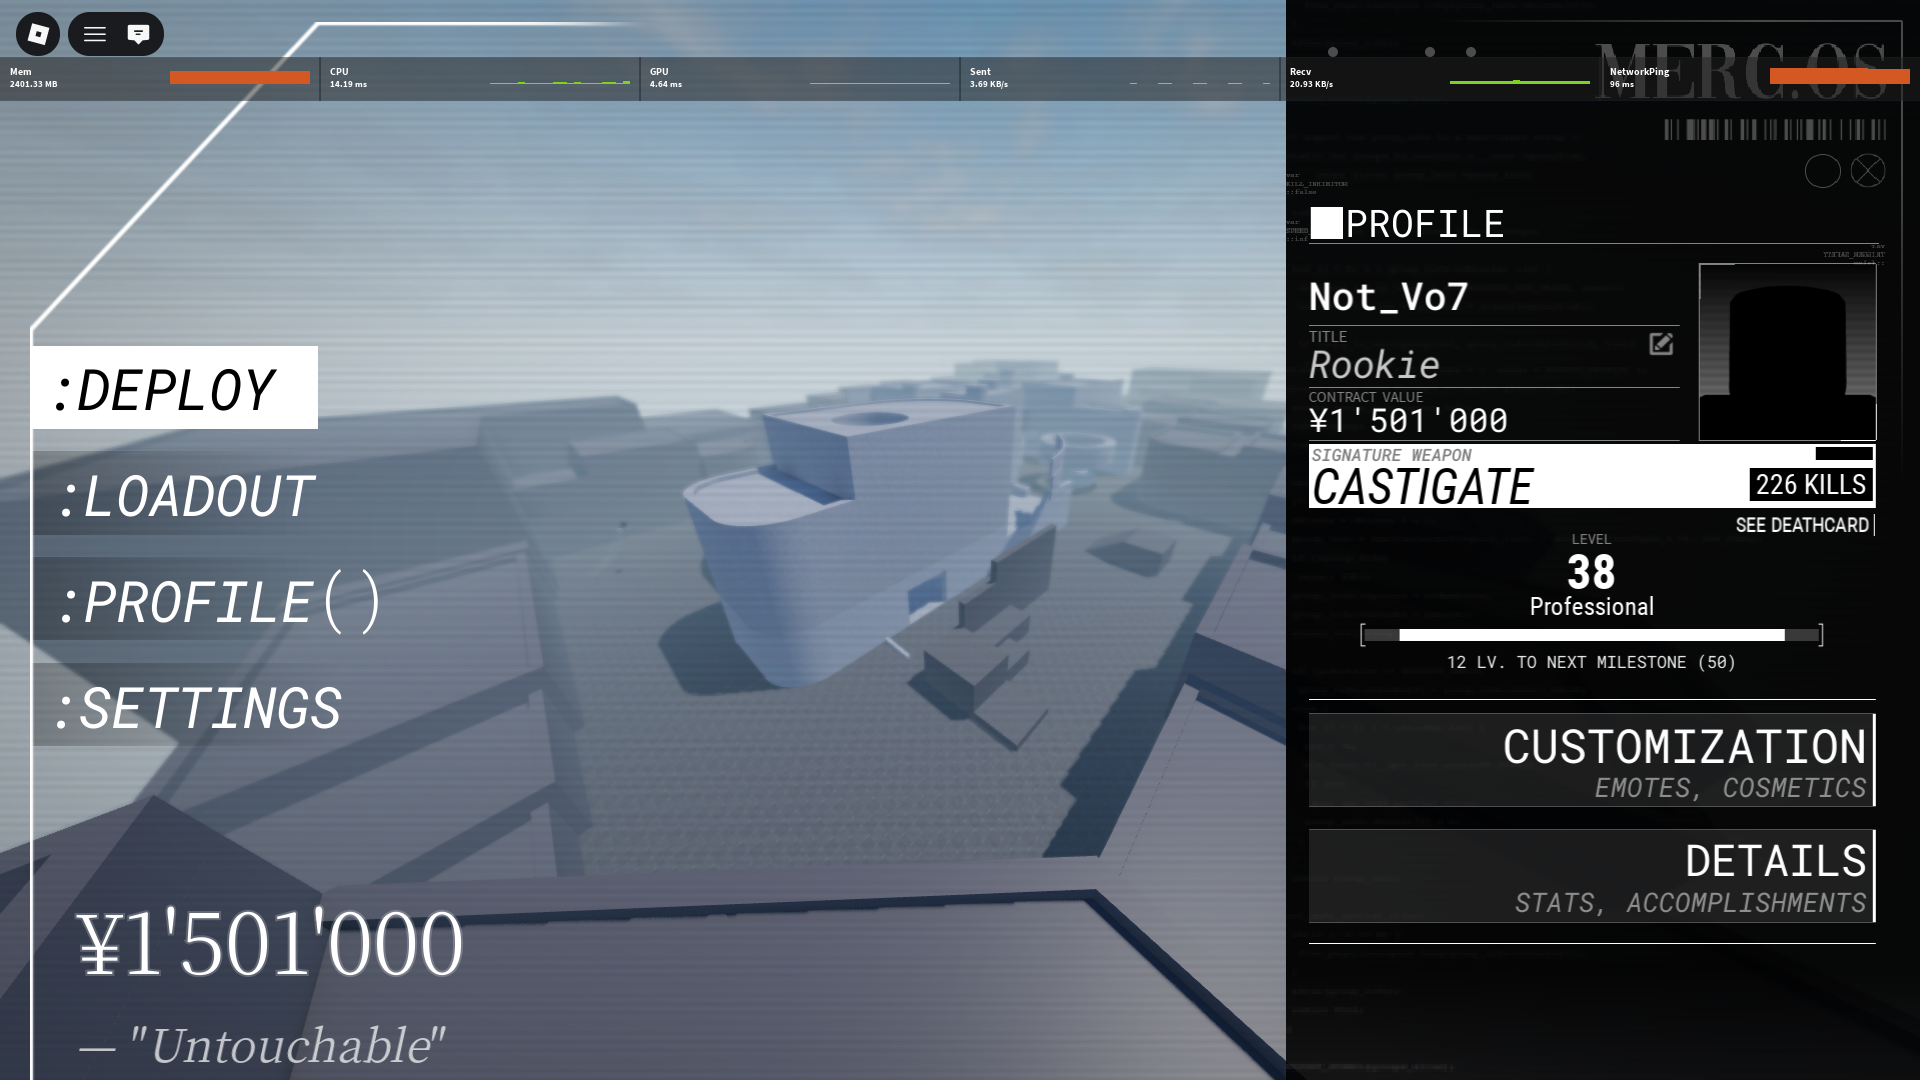
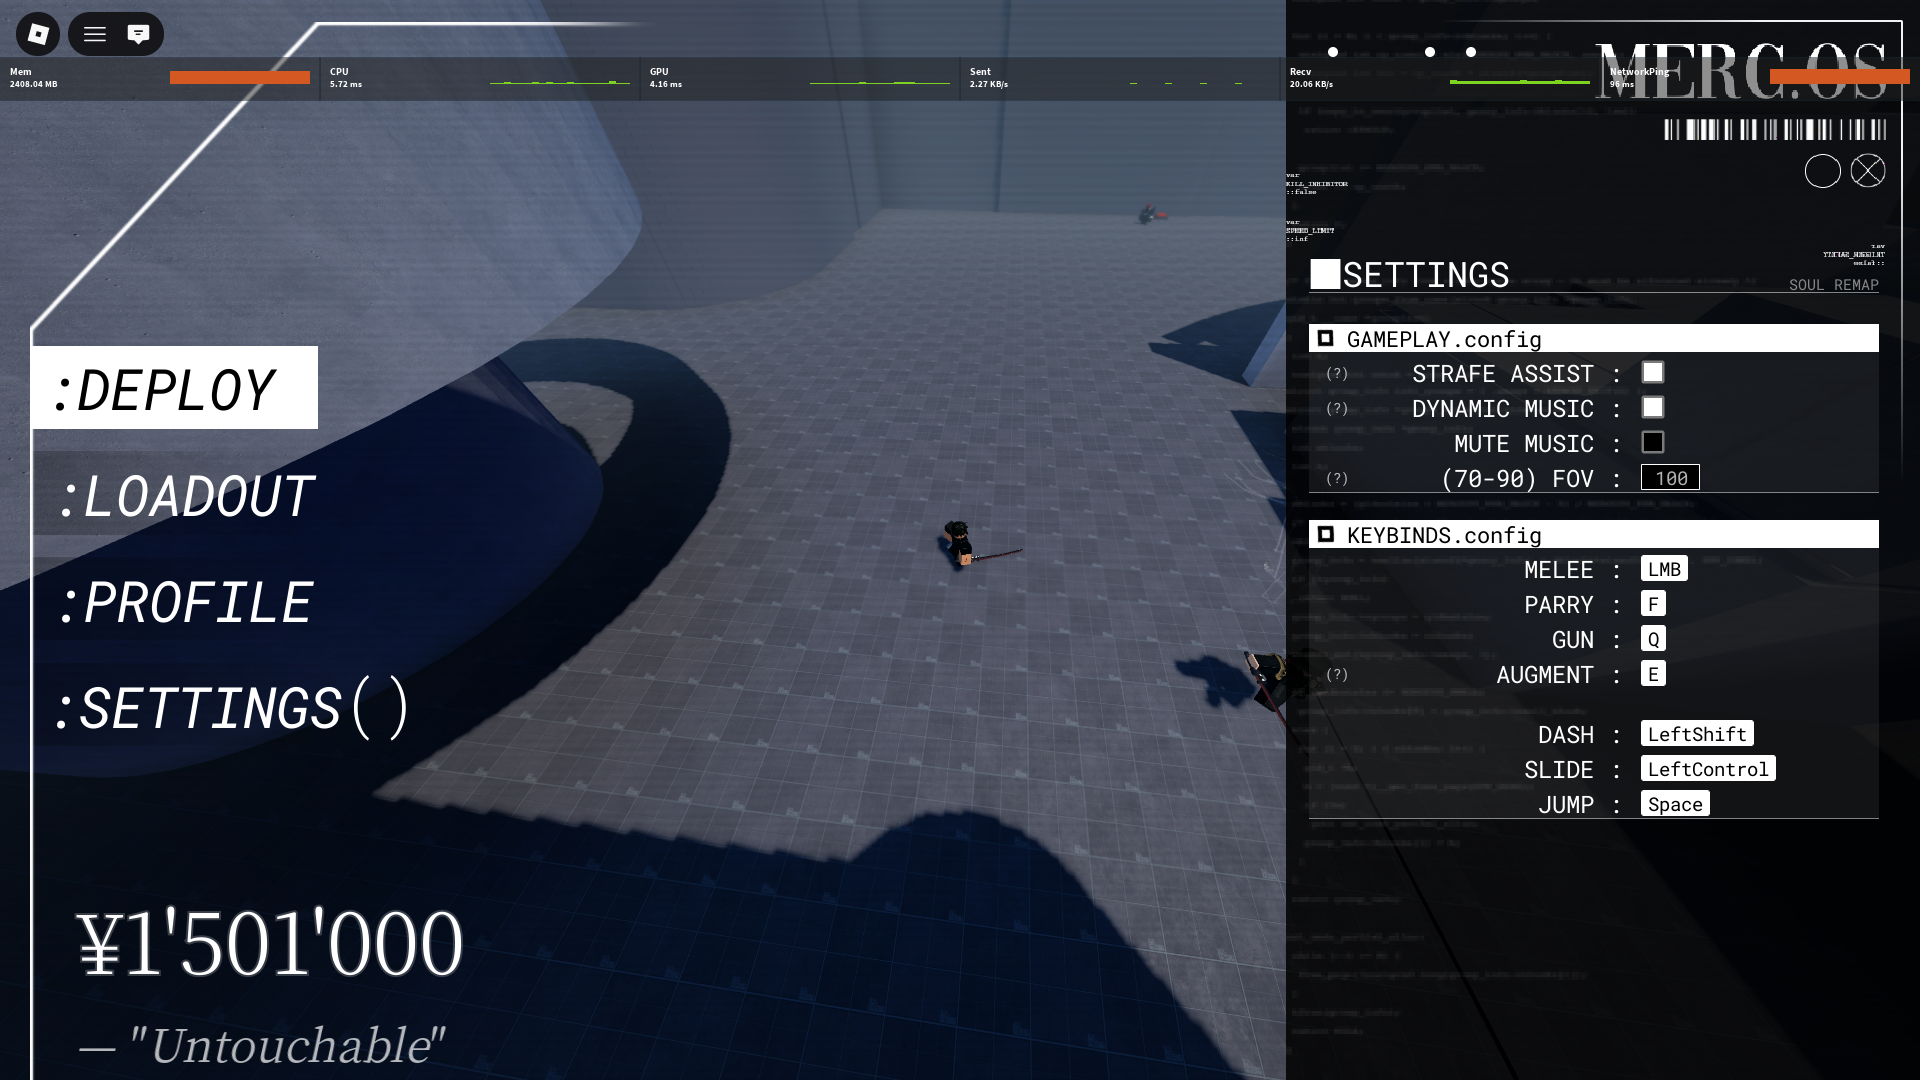
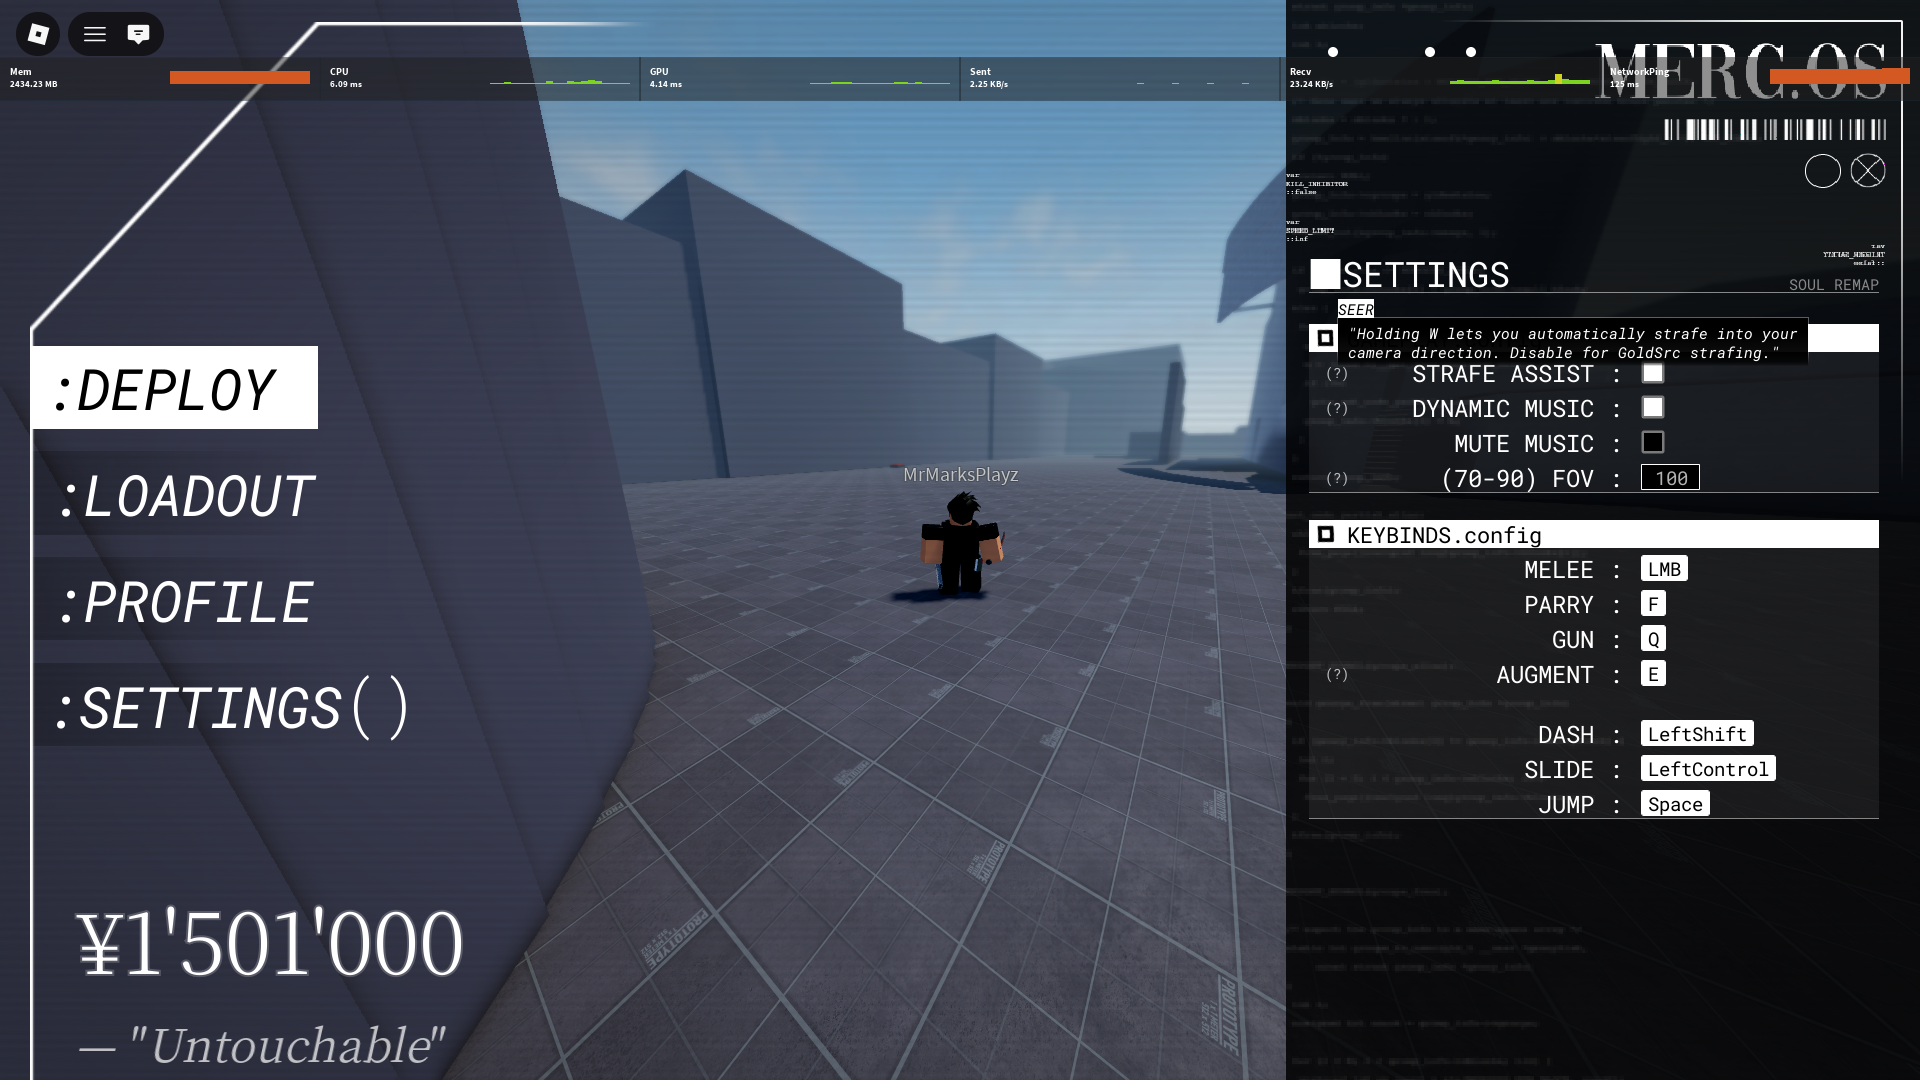
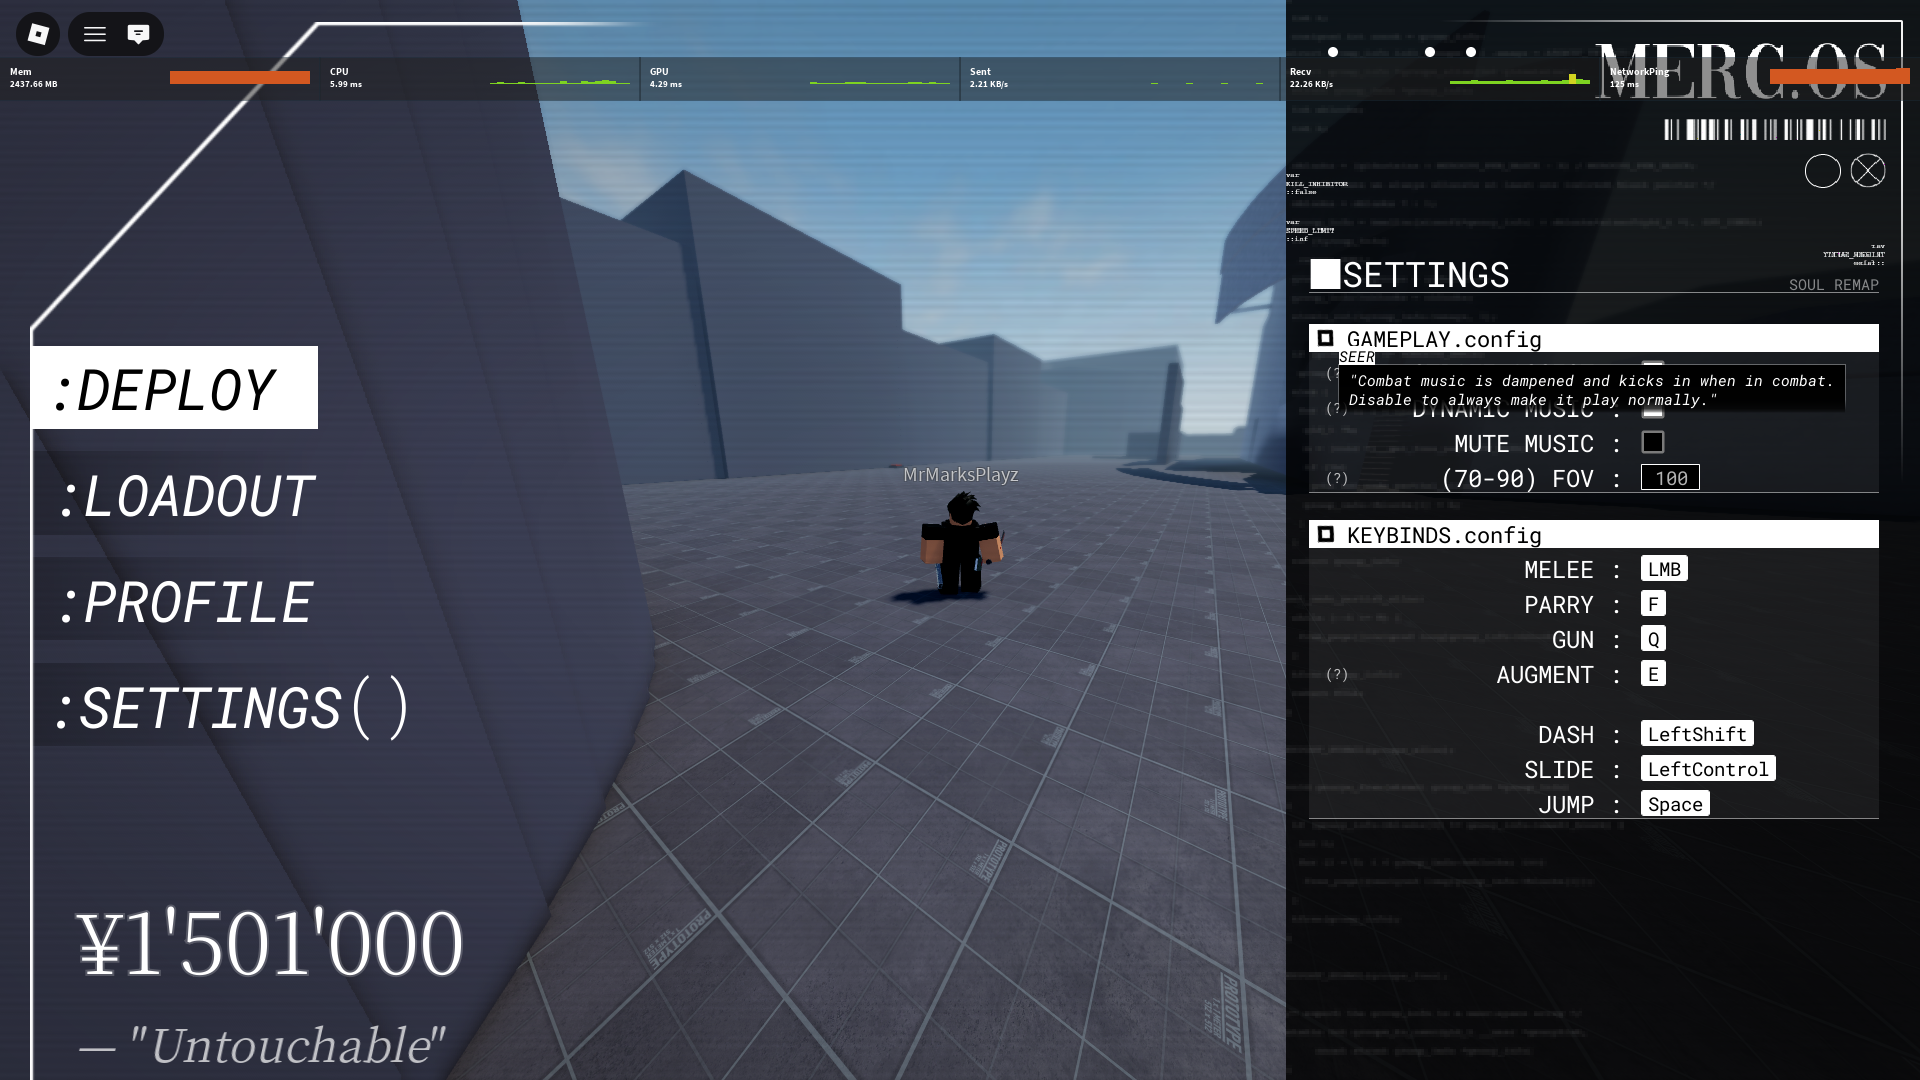
- Settings: Change keybinds (The max FOV is 100)
Titles
- Rookie: Level 0
- Freelancer: Level 10
- Professional: Level 25
- Elite: Level 50
Loadout
Weapons (Right Hand)
- Melee (Lmb): Primary Weapon (Always equipped)
- Ranged (Q): Secondary Weapon (Press Keybind to pull out)
Augment (Left Hand)
- Grapple (E)
Movement Basics
- Dash (Left Shift)
- Uses one stamina bar
- Temporarily increases speed to 110 u/s
- Using in the air will cause you to dash into the direction you are looking
- Crouch/Slide (Left Control)
- Sliding grants a minor speed boost
- Maintains momentum for 2 seconds by making the player frictionless
Momentum
- Dashes have a pretty big fall off
- Getting hit by Phoenix and Slams will about fully decrease your forward momentum
⚔️ The Redliner
REDLINER // "Katana" - Main Weapon
Weapon Stats
- Damage: 20HP
- Cooldown: ~0.5s
- Type: [ Melee ], [ Short-Ranged ]
Mechanics
[ Parry ] (F) - 2s Cooldown
Deflects or Reflects incoming attacks towards the user.
Two lights next to the hilt of the sword will indicate when the next parry is ready.
When Parrying:
- Grants user 0.5s [ Parry ] frames
- Gives 10% [ Instability ] if the user fails to [ Parry ] an attack
On Hit:
- Gives the user 0.35s [ Auto-Parry ] after a successful parry.
- Instantly restores [ Parry ] after a successful parry.
- Parry endlag can be canceled by using weaponry.
[ Parry Degree Window ]
Bullet parry angle scales with instability: 45° at zero, 19° at max.
[ Safe Parry Frames ]
Removes the Instability Penalty when facing a Glint and Performing a Parry. If the User fails to Parry, No Instability is applied.
[ Clashing ]
Occurs when two players slash each other at the same time.
- Upon [ Clashing ], the higher speed will be the victor.
- Winner gains less [ Instability ], gives the loser more [ Instability ]
- Cancels damage, Converts ⅓ of damage to [ Instability ] instead.
- Downwards momentum counts towards the clash formula.
[ Wide Slash ] (Charged Variant)
- Drains 2 [ Stamina ] bars on use.
- Crouching charges the redliner, allowing you to perform a [ Wide Slash ].
- Crouching for 0.5s allows for wide slashes; the weapon glows white to indicate when it's fully charged.
- Hits all players in a crescent range.
- You are allowed to use weapons and parry while charging [ Wide Slash ]. Will reset wide slash.
Trivia
- The Redliner was able to wallbang before/during Wave 1 Testing
- Slashing while sliding is ~3ms faster, debunked by @cubxfy & @vo
EA // 3D MODEL
Renders the interactive 3D model of Ea (Sword of Rupture).
🪝 The Mach Grappler
The Mach Grappler (E)
Mechanics
[ Ground Slam ]
- Grapple towards the ground while high in the air.
- Deals 60% [ Instability ] upon impact.
- Can be parried, Reflects [ Instability ] instead.
- Changes crosshair indicator to Yellow.
- Slamming causes instant momentum startup and makes it very good for momentum redirects, including zip boost, wallrun redirect, and slam slide.
[ Chase ]
- Grapple towards a player while they are airborne.
- Travels to the Target Player at 250 u/s.
- Changes crosshair indicator to Red.
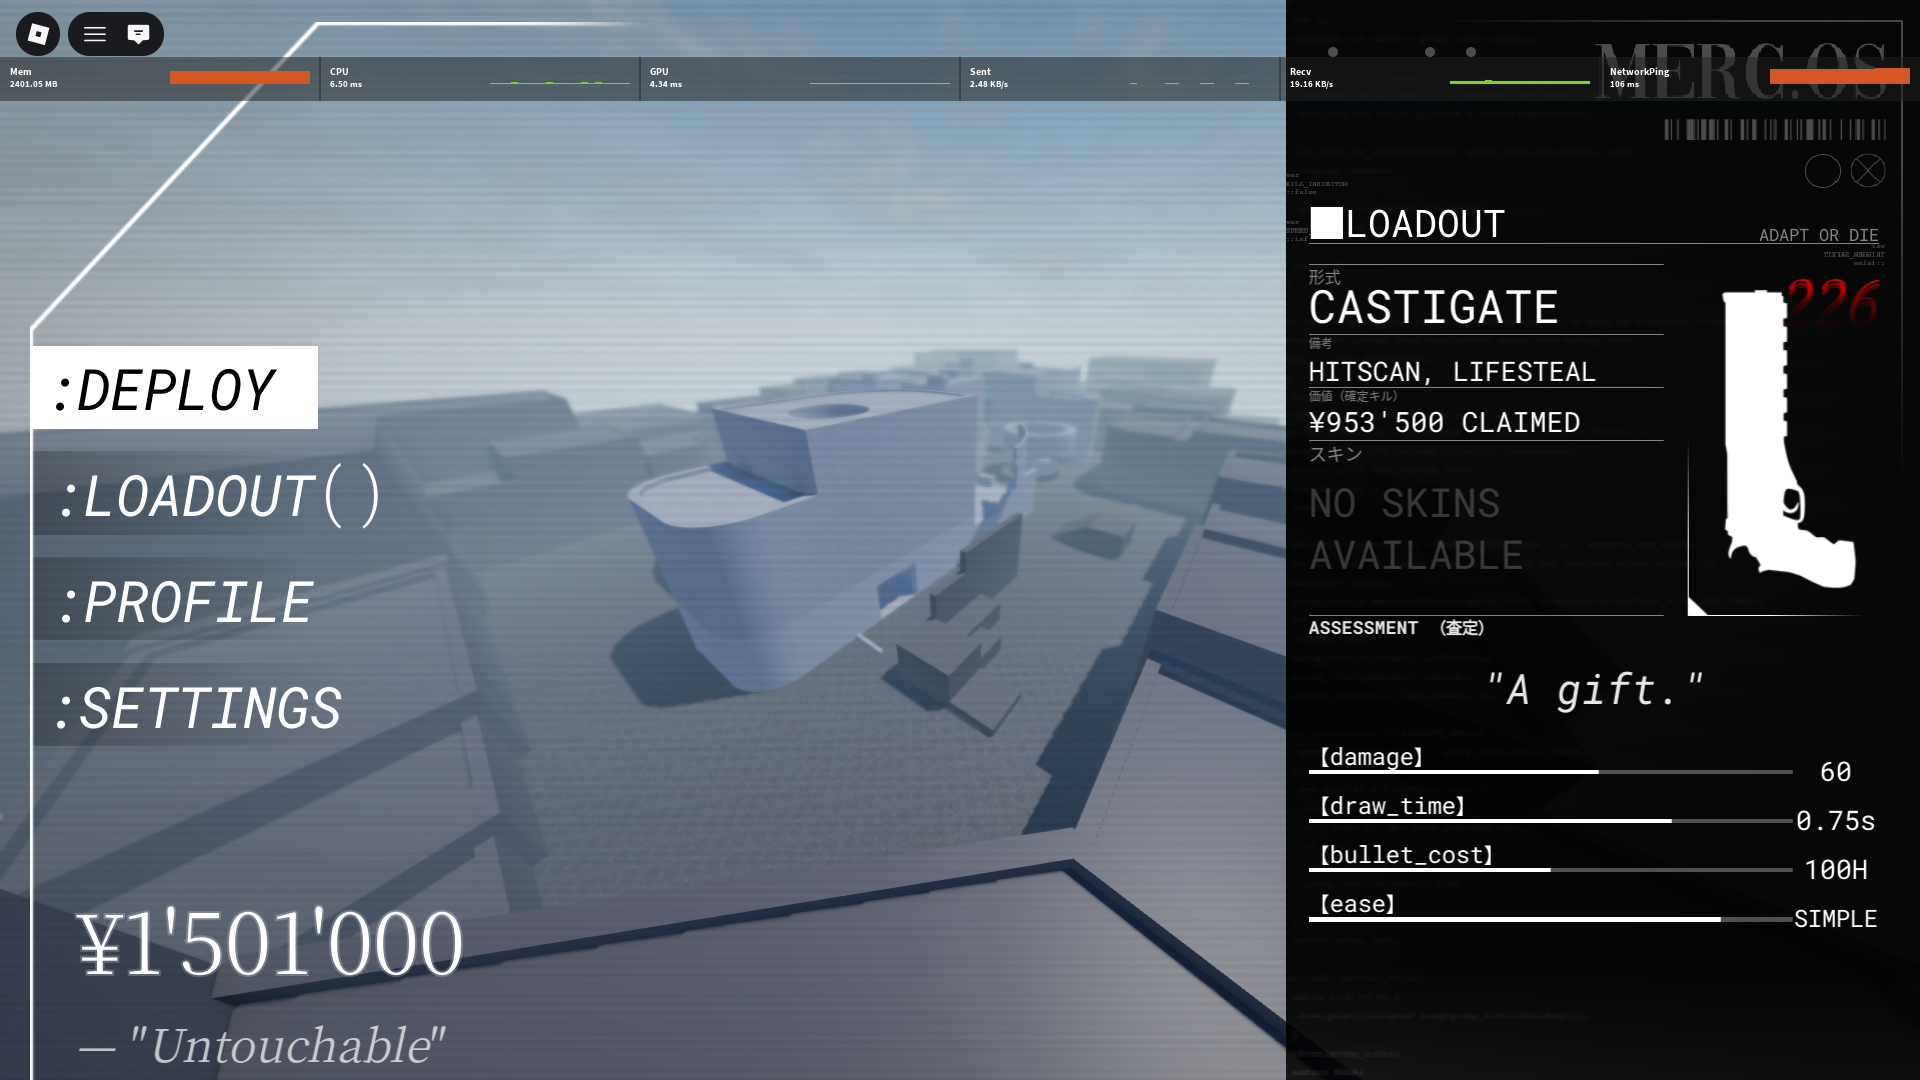
🔫 The Castigate
CASTIGATE // "Magnum Revolver" (Q)
" a gift. "
Weapon Stats
- Damage: 60HP
- Drawtime: 0.75s (interruptible)
- Bullet Cost: 100H
- Maximum Bullets: 3
- Indicator: Red Flash
- Type: [ Aim-Assist ], [ One-Handed ]
Mechanics
[ One-Handed ]
One-handed weapons can use grappler and wallrun while weapon is in use.
[ Life-Steal ]
Heals 20 HP upon hitting a player with Castigate.
[ Wall-bang ]
Castigate bullets pierce all walls and buildings, requiring [ Lock-on Circle ] to activate.
[ Parry Degree Window ]
Bullet parry angle scales with instability: 45° at zero, 19° at max.
Trivia
- The first weapon in the game
- There's a "Castigate" branding on the side of Castigate (art made by @rinrinmatsu)
- Description may be a reference to Agent Chamber from Valorant.
- Upon firing, the player can flick away after aim lock to perform a stylish kill called "The Buster Scruggs" — a confirmed game feature.
🎯 [ Scan Aim ]
Aim Assist / Lock-on Mechanic
Automatically highlights and locks onto targets near your crosshair when inside the [ Lock On Circle ].
Activation
- If your crosshair is within the target's detection radius, the [ Lock On Circle ] appears.
- Placing your crosshair inside the [ Scan Aim ] when Castigate fires will lock on and guarantee a hit.
Firing Indicators
- The [ Lock On Circle ] spins clockwise.
- A percentage meter appears at the bottom-right of the [ Lock On Circle ].
- When the meter reaches 100%, "Target Acquired" appears at the top-left and Fires.
- Bullets from [ Scan Aim ] always wallbang.
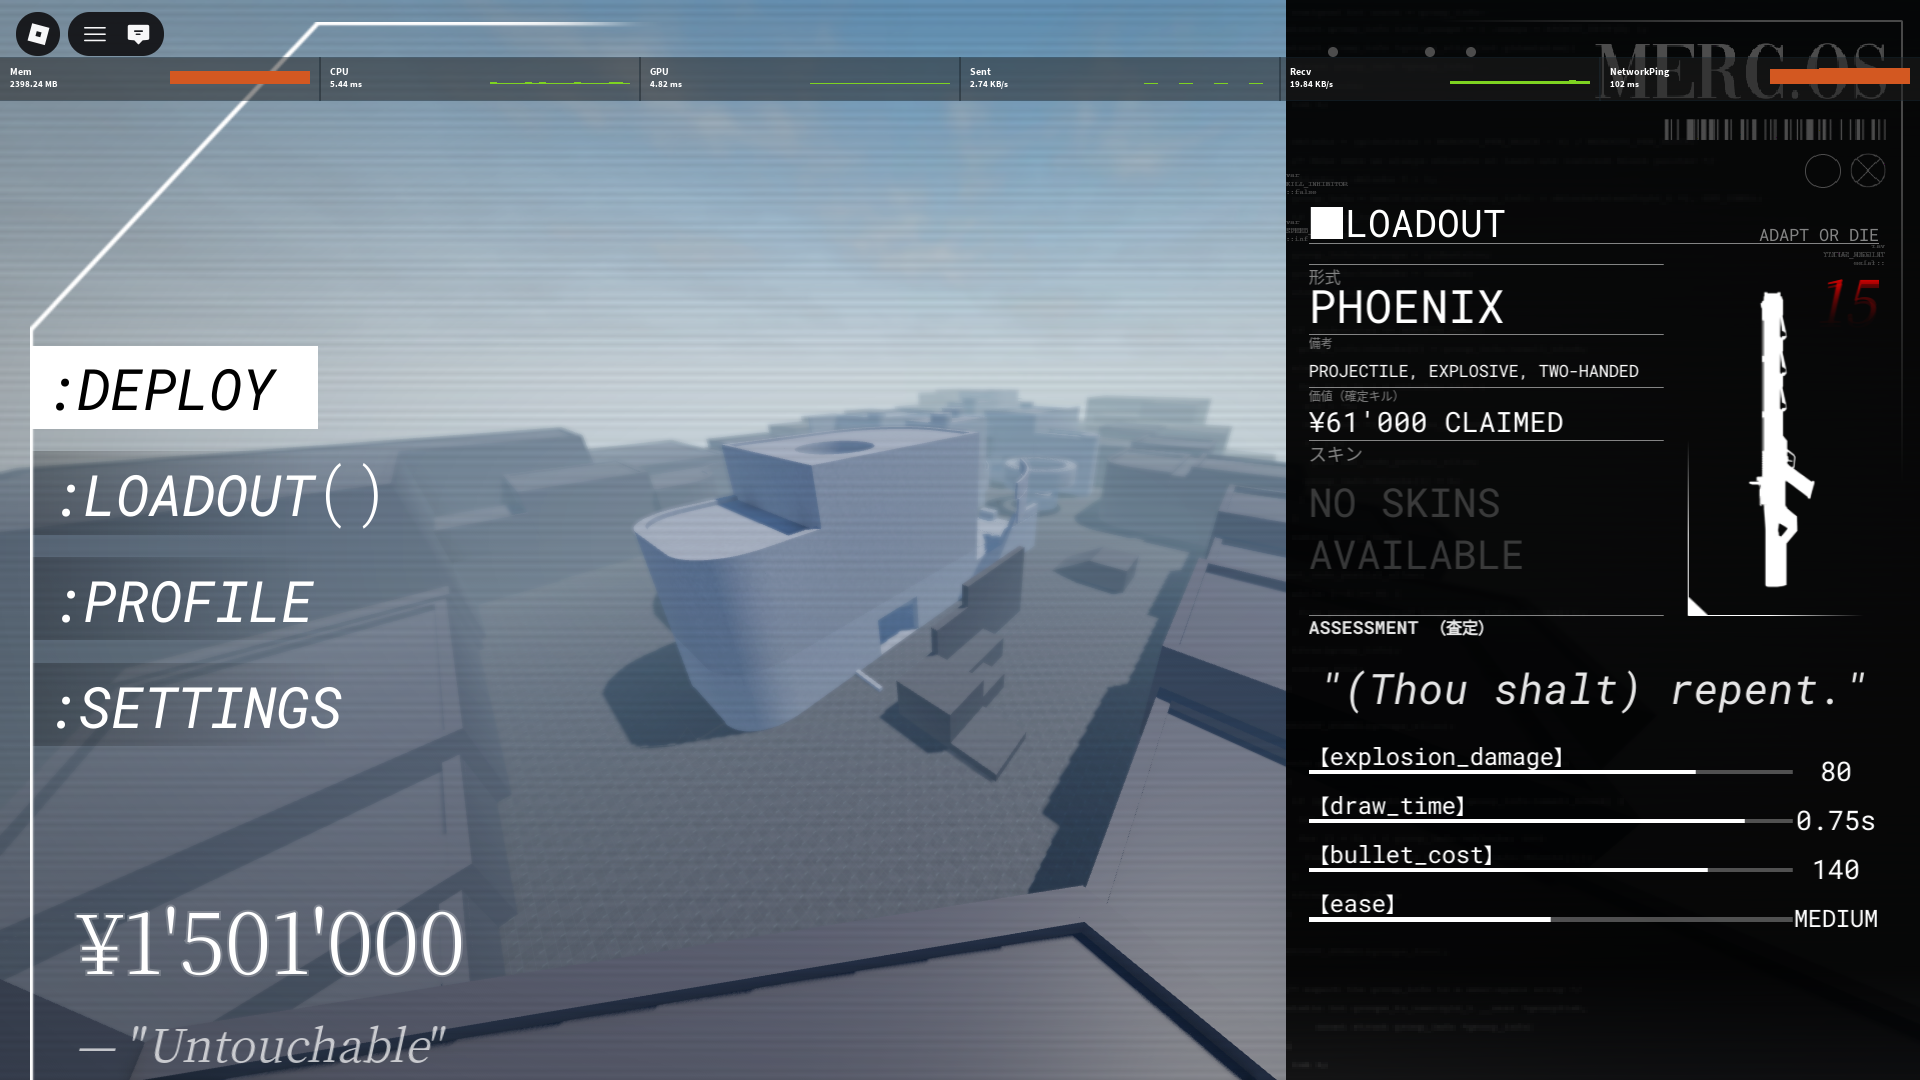
🔥 The Phoenix
PHOENIX // "Handheld Howitzer" (Q)
" (Thou Shalt) repent. "
Weapon Stats
- Damage: 70HP – 150HP (direct hit)
- Drawtime: 0.75s (interruptible)
- Bullet Cost: 120H
- Maximum Bullets: 2
- Indicator: Orange Flash
- Type: [ Explosive ], [ Projectile ]
Mechanics
[ Special Parry Mechanics ]
- Projectile breaks [ Parry ] at max Instability.
- The direct hit bypasses [ Parry ].
[ Bullet Dropoff ]
The bullet travels at 300 speed, then dropoff applies after 0.5s.
[ Area of Effect ] / [ AOE ]
Phoenix projectile explodes in a 70-stud diameter.
[ Damage Dispersion Formula ]
The damage dispersion is an exponential decay formula:

- F is the final damage.
- t is the number of players inside the radius.
- r is the rate of decay. Rate of decay is currently 0.2.
Damage Table:
| Players in Radius | Final Damage | |:-:|:-:| | 1 | 70 | | 2 | 58 | | 3 | 49 | | 4 | 41 | | 5 | 34 |
Trivia
- The Phoenix has the longest holster time.
- There's a rare sound effect that can occur when firing, with a 1 in 10,000 chance.
- Phoenix is a direct reference to the weapon of Fiammetta from Arknights.
💥 The Siege
SIEGE // "Double-Barreled Shotgun" (Q)
" The only thing they fear is YOU. "
Weapon Stats
- Damage: 30 – 70 (Min/Max)
- Drawtime: 0.65 – 1.10s (interruptible)
- Bullet Cost: 120H
- Maximum Bullets: 2 (2x per shot)
- Indicator: Blue Flash
- Type: [ Close Range ], [ Double Tap ]
Mechanics
[ Double Tap ]
The weapon shoots twice — fires a shot at 0.65s, followed by a second at 1.1s.
[ Scatter Shot ]
Each shot spreads 10 pellets in a Cone.
[ Proximity Damage Scaling ]
Deals 70 at close range (30 studs) then decreases 10 damage per ten studs until it reaches 30, making the max range 70 studs.
[ Increased Recoil ]
Both shots cause the user to be launched backwards at high velocity.
Trivia
- The Siege has the shortest holster time.
- Official Sneak Peek for the Shotgun was posted on the 10th of January.
- You can intentionally miss the first shot to bait a parry and have a guaranteed hit on the second.
👁️ The Monarch
MONARCH // "Anti-Materiel Sniper" (Q)
" Just like the old times "
Weapon Stats
- Damage: 140
- Drawtime: 1.85s (interruptible)
- Bullet Cost: 200H
- Maximum Bullets: 1
- Indicator: Light Turquoise
- Type: [ Scoped ], [ Wall-Bang ]
Mechanics
[ Scoped ]
Brings the weapon to eye level in a short period of time.
[ Wall-Bang ]
Bullet pierces through walls and objects (1 – 140 studs).
[ Highlight ]
During Scope, targets are highlighted in the User's FOV.
[ Increased Recoil ]
Firing causes the user to be launched backwards at high velocity.
Trivia
- 4th Gun added in the game
- Scope time is approximately 2 seconds long
🦖 Movement & Mechanics
Information about the Interactables around the map as well as specifics about the Mechanics and Movement within the game.
🌵 Interactables
⚙️ ZipLines
Core Redliner Interactable
Use Info
- Hitting R near a zipline will attach you to the zipline, and you can ride it.
- The zipline's speed is 135 u/s, and gravity affects the zipline — depending on placement, you can gain extra speed going downward.
- You can change direction while on a zipline.
- Jumping off a vertical zipline can lose you some speed, but falling off the end of a zipline won't.
Interactions
- You can redirect your momentum using the zipline by grabbing it and doing the jump-off action. This will send you in the direction you are looking.
- Grabbing ziplines refreshes your wallrun, which can be used to gain speed up to 130 u/s.
Trivia
- Ziplines sneak peek on Jan 3 alongside Bouncepads.
- Works like Valorant ziplines, except they automatically make you go up or down.
📈 Bounce Pads
Core Redliner Interactable
Use Info
- Launches the player depending on their speed.
- Completely keeps forward momentum and adds upward momentum.
- Has a dev variant that launches you 100 u/s.
Wallrun Interactions
- Wallrun may go up or down the wall, depending on the momentum.
- Will slowly go down if you only have horizontal momentum.
- Can be cancelled by a dash.
Trivia
- Bouncepads sneak peek on Jan 3 alongside Ziplines.
- Bouncepads have been added to the ground in certain areas of the map.
🛠️ Mechanics
💨 Stamina Bar
A meter displaying 3 bars of [ Stamina ].
- Uses 1 bar for [ Dash ]
- Uses 2 bars for [ Wide Slash ]
Recharge Rate
- Grounded: Fast
- Sliding: Medium
- Airborne: Slow
Recovery
- Restores [ Stamina ] on ground contact.
- Restores [ Stamina ] while wall-running.
❤️🩹 Instability Meter
A meter that builds from 1%–100% [ Instability ]. Decreases 2% per second.
Gained From
- Clashes — losing a clash grants increased Instability.
- Failing a [ Parry ] (+10%)
- Failing a [ Ground Slam ] (+20%)
- Successfully parrying Head Hunter (+48%)
- Successfully parrying Castigate (+20%)
- Successfully parrying Phoenix (+50%)
- Successfully parrying Siege (+30%)
- Successfully parrying Monarch (+70%)
- Being ground slammed (+60%)
- Being parried (+10%)
Lost From
- Successfully Landing a Melee Hit. (−10%)
[ Clashing Instability Formula ]
Clash Percentage is determined by the speed difference; Faster Player is valued more by 1.5x.

💔 Destabilization
Applies [ Destabilized ] when exceeding 100% [ Instability ]. Cannot gain [ Instability ] while [ Destabilized ].
Exceptions (Still gain instability while Destabilized)
- Missing a [ Parry ].
- Winning clashes.
- Performing successful parries (except The Phoenix).
While [ Destabilized ]
- [ Stamina ] is reduced to 0 ([ Stamina ] still regenerates).
- Attacks and [ Parry ] are disabled for 5 seconds.
- The UI is replaced with a countdown timer.
- Can still slam. Cannot gain instability.
Notes
- Destabilization clears on death.
- Bullets are halved on death.
📖 The Tech Bible
🔥 BULGARIAN SPEEDTECH
A collection of advanced movement techniques discovered and refined by Wave 1 Liners.
🏷️ Slam Slide "Sage Slide"
Intended Feature
How to Perform
Cancelling a ground slam by crouching turns your downward momentum into a set forward momentum.
(You know you've done it right when you ground slam and cancel with a slide without the slam activating)
The easiest way to do this from the ground is: look down → jump → dash back → grapple the floor.
Stats
- Consistent 125 u/s base speed
- Can BHop or hold crouch to go into a slide or Drift.
- Holding the slide for a little bit after activating will add an additional 5 u/s to your base speed.
- Considering the tech is base speed, if you slingshot after the tech you can go 150 u/s with grappler decay.
Pros
- Is really good for baiting out parries because it looks like you are going to slam.
- Puts your opponent in a vulnerable state if they unsuccessfully parry.
- The best movement tech for guaranteed speed.
Cons
- Takes a couple seconds.
Trivia
- Originally named "Sagedash" then renamed to "Sage Slam" after Sage (TechLiner) due to a widespread gif and really good bloopers.
🪝 SlingShot
Redirect your momentum in the opposite direction using the grappler's elasticity to gain speed.
- Slam Slide into slingshot applies additional velocity to the slam slide's base speed.
Trivia
- This tech was used alongside pre-patched Wall Blitz to achieve the first 10k speed, which was the speed record for some time.
📜 Back Dash Grapple "BDG"
Feature of the Grappler
How to Perform
After jumping, dash backwards and grapple simultaneously to create more elasticity in the grapple and propel you forward.
Tips
- Extremely useful for gaining speed in battle; most commonly used for clash wins.
- There is a good timing and angle for BDG where you can get 130–145 u/s.
- You can turn and slingshot in the other direction to maintain speed without using an extra dash.
Pros
- Is an effective and quick way to gain speed mid-fight.
- Is a good timing mix-up and good for baiting opponents who parry often.
- You are fully able to use your Redliner, Weapons, and Parry.
- A more effective way to gain momentum than dashing, because the slingshot cancels the dash's momentum fall-off.
Cons
- Some resource usage.
Other momentum sources for BDG
- Castigate Recoil
- Parry knockback
- Speed from BHopping
🏥 Willow Walling "Hyper Blitz"
Discovered by: Zerby Quan (BreakLiner) — Honored to: Willow (WallLiner)
Initiating a wall run during a [ Dash ] allows you to [ Dash ] again and gain more momentum.
- Can consistently hit high 200 u/s, hitting 400 u/s is much harder.
Tips
- Very good for clashing (the most efficient, especially time-wise).
- Slingshotting after the final dash will cause the dash speed falloff to not be applied. You can also re-wallrun.
- In a fight, if you slingshot after getting a clash win, you can set up for a second interaction and likely still have momentum.
- Start by having momentum on a wall run before using any dashes to conserve resources.
Pros
- Good for entering fights — pretty much a guaranteed clash win.
- Really good for general movement.
Cons
- Uses [ Stamina ] bar very fast.
Trivia
- Hyperblitz was renamed after "Willow" to honor his broken spacebar because of excessive use.
🚀 Super Jump
Solved by Pro3000 and Zerby
How to Perform
Dashing while jumping will transfer the dash momentum with the jump — with no dash falloff — causing you to get launched into the air.
Pros
- Keeps a large portion of your momentum without losing it.
- Redirects into any direction.
Cons
- Timing is difficult.
- You can't see in the direction it sends you.
Trivia
- First thought to be a random bug, later solved and able to be easily replicated.
🗄️ Slam Storage
Feature of the Ground Slam
How to Perform
When you activate a Ground Slam, as long as you don't touch the ground, you will keep the Ground Slam until you activate it.
It doesn't matter how you prevent yourself from touching the ground, as long as you avoid ground contact.
Tips
Used to delay or fake out a Ground Slam to lower chances of getting parried and to make your opponent waste a parry.
Common ways to prevent/delay ground contact:
- Wall Run (Best method: allows for more versatility in delay timing)
- Side Dash
- Up Dash
- Doing a backwards Dash while looking down
- Flicking upwards and doing a forward Dash
Pros
- Allows you to avoid getting parried.
- Puts your opponent in a vulnerable state if they unsuccessfully parry.
- Causing them to receive Instability.
- Allows for the delayed utilization of a slam cancel with less strict timing.
Cons
- High skill ceiling.
- Reduced movement abilities.
- Can end up using a bit of resources.
Trivia
- The Ground Slam was an original feature introduced before Wave 1.
🧨 JarBoosting "Super WallJump"
Discovered by Jarnemans (Timeliner) — Updated Method 02/04/2026
How to Perform (Updated)
- Grapple to the ground to slam.
- Walljump and dash (very quickly, almost instantaneous) in the direction you wish to fly.
NOTICES:
- Step 2 needs to be done immediately once the grapple connects to the floor.
- It is highly recommended to set wallrun setting to HOLD, not TOGGLE.
Facts
- Curved surfaces give more momentum than flat surfaces, but it works on both.
- You get flung in the direction you dash in, so it's omnidirectional.
- You will keep your slam (slam storage) after getting flung, so the slam will happen once you touch the ground.
Backwards JarBoost:
Forwards JarBoost:
↩️ Redirect Techs
Slide Redirect
Intended redliner mechanic
Sliding backwards when you land with good timing will cause you to slide backwards with your forward momentum.
Tips: Good when jousting and you don't want to use your grapple.
Has its own sound effect that only plays when sliding backwards.
Wallrun Redirect
Intended redliner mechanic
Wallrun then hold W into the direction you release — gives you the ability to change the direction of your momentum.
Tips: Good when jousting and you don't want to use your grapple. Redirects off any wall and can move into any direction you are looking.
Zipline Redirect
Intended redliner mechanic
Grabbing and immediately jumping off a zipline will redirect your momentum into the direction you are looking.
Tips: Time hitting R then the space button as soon as you can after.
Wall Sling "Wallrun BDG"
Discovered By Zerby D. Quan
After BDG, wallrunning will propel you even faster. You can also wallrun to increase speed whenever you want, and slingshot off the wall to gain additional speed.
Each wallrun will prevent speed decay from the dash.
Trivia: In its prime, it would grant you 10–15 additional speed with no cap.
🛡️ Parry Breakers
SlamCast
(Name coined by Vo — Technique first publicly addressed by Kayoyah)
How to Perform
- Ground Slam
- Use Castigate
Pros
- If they parry the slam, the Castigate fire rate is longer than the auto parry and shorter than the parry cooldown — giving a window to hit.
- If parried and you get destabbed, the Castigate is still out and shoots.
- Castigate is an outstanding follow-up for [ Destabilization ].
Cons
- Risky to pre-fire Castigate if you are not certain they will get [ Destabilized ].
- Pulling out Castigate leaves you vulnerable if they don't get [ Destabilized ].
Tips — Only pull out Castigate if:
- Their [ Instability ] is high.
- They are [ Destabilized ].
- You know they will try to maneuver/reposition after getting slammed.
Zip Boost "Zip Dash"
First found by Flabagizza
How to Perform
While near a hanging zipline, initiate a slam and attach simultaneously, then cancel the slam.
Pros
- Shoots you above 200 u/s.
- Can be used to juke parry whilst in the air.
- A good headstart for clashing.
Cons
- Requires precision.
- Less versatility due to zipline positions and quantity.
Trivia: Zipboost was the first tech discovered by a Wave 2 liner.
🤺 Phantom Slash "Flicker"
Discovered by Netzach
How to Perform
- Must be on peak momentum (Recommended Velocity: 110 u/s)
- Dash at peak momentum
- Use a slash
Usage
- Instability chipping from winning clashes
- Counter blitzing a Slingshot
Best Used Against
- Slingshot & Slide Plays
- Panic Situations
⚡ SynFall [ Patched ]
Discovered by iisynr (FlatLiner)
How to Perform
Doing a Wide Slash (Crouch Slash) right before you Ground Slam someone.
- The idea: if they parry, they can only parry one or the other.
- Either they parry the slash, thus getting ground slammed and gaining 60% [ Instability ].
- Or they take 20 damage and parry the ground slam.
Kay Variation
Same thing, but using just a normal slash instead of a wide slash.
- More versatile than using a wide slash.
- No extra prep time.
- MUCH harder to pull off; timing window is very small.
POST-PATCH
- Added a .35 second auto parry window after parrying.
- Meant to allow you to parry multiple people targeting you at once.
- Causes both slash and slam to be parried.
- Is still the optimal way to slam.
- Parrying with auto parry still causes [ Instability ] for both hits; just don't use wide slash to conserve [ Stamina ].
💾 Changelogs
v0.1 – Wave 1
Changelogs – 12/18/25
Bug Fixes
- Fixed parry falter occurring on successful parry (probable main reason for getting high instability).
Changes
- Parry falter reduced from 35% → 20%
- Castigate parried instability 35% → 20%
- Phoenix parried instability 50% → 35%
- Phoenix dmg dispersion formula less harsh
Changelogs – 12/20/25
Bug Fixes
- Grapples lingering after death
- Destabilized persisting after death
- Able to take instability while destabilized
- Measures against lagswitch attacks